
Fedora ARM provides a full fledged Linux distro with rich ecosystem of server packages available for the ARM ecosystem.
However, ever since Fedora released an official ARM spin, specialized Fedora derivative for Raspberry Pi such as Fedberry and Pidora pretty much went out of development, and getting Rpi accessories to work with Fedora ARM, especially those that does not work with upstream Linux.org kernel, is not quite obvious,
In this tutorial, we would go about in getting ILI9486/XPT2046 3.5” LCD, which I bought from Lazada to work with Fedora ARM on Rpi3, up until the point where a framebuffer device is available for attaching CLI console to the display. The process provided by this tutorial in theory should also work with several other LCD devices, but because I only have this 3.5” LCD, so I can only test against it.
Installing Fedora ARM with downstream Raspbian Kernel
To start, you will need to use dwrobel’s spin of Fedora ARM image instead of the main official image. This image basically replaced the default Fedora kernel which is from upstream Linux.org kernel, to a kernel provided by Raspberry Pi Foundation. It is important for you to use this kernel to get the LCD to work, because a lot of kernel modules required to work with Rpi accessories are not yet available in upstream kernel for various reasons.
You will notice that the image download page splitted the file into two,
fedora-server-aarch64-f33-20201230-sda.raw.xz.aa
and fedora-server-aarch64-f33-20201230-sda.raw.xz.ab. You will need to merge these files into
a single image before you can work with it:
# merge files
cat fedora-server-aarch64-f33-20201230-sda.raw.xz.aa \
    fedora-server-aarch64-f33-20201230-sda.raw.xz.ab \
    > fedora-server-aarch64-f33-20201230-sda.raw.xz

# verify checksum
sha512sum -c fedora-server-aarch64-f33-20201230-sda.raw.xz.sha512sum
After successful merging, you can then copy this image into your sdcard. Please take note, Fedora ARM Image Installer does not quite work correctly with this image.
# decompress
xz -d fedora-server-aarch64-f33-20201230-sda.raw.xz

# dd into sdcard
dd if=fedora-server-aarch64-f33-20201230-sda.raw of=/dev/mmcblk0
Afterwards, you may want to resize the root partition to make use
of the whole sdcard, to do this, disconnect and reconnect the sdcard
to reload, and then lets run parted.
umount /dev/mmcblk0* # just to be sure
parted /dev/mmcblk0
Then use resizepart to resize the btrfs partition.
[root@chihaya ~]# parted /dev/mmcblk0
GNU Parted 3.3
Using /dev/mmcblk0
Welcome to GNU Parted! Type 'help' to view a list of commands.
(parted) print free
Model: SD SN64G (sd/mmc)
Disk /dev/mmcblk0: 63.9GB
Sector size (logical/physical): 512B/512B
Partition Table: msdos
Disk Flags:

Number  Start   End     Size    Type     File system  Flags
        1024B   4194kB  4193kB           Free Space
 1      4194kB  516MB   512MB   primary  fat16        boot, lba
 2      516MB   3016MB  2500MB  primary  btrfs
        3016MB  63.9GB  60.8GB           Free Space

(parted) resizepart 2
End?  [3016MB]? 63.9GB
(parted) q
Information: You may need to update /etc/fstab.

[root@chihaya ~]#
The btrfs partition can now be mounted for resizing the filesystem and adding your SSH key for remote network access, which can be added using the following steps.
# mount
mkdir /tmp/disk
mount /dev/mmcblk0p2 /tmp/disk/
btrfs filesystem resize max /tmp/disk/

# add ssh key
mkdir /tmp/disk/root/root/.ssh/
cat /path/to/ssh/public/key > /tmp/disk/root/root/.ssh/authorized_keys
chmod og-rwx -R /tmp/disk/root/root/.ssh/

# remove root password
sed -i 's/root:x:/root::/' /tmp/disk/root/etc/passwd
Static network IP can be configured using
cat > /tmp/disk/root/etc/sysconfig/network-scripts/ifcfg-eth0 << EOF
DEVICE=eth0
TYPE=Ethernet
PROXY_METHOD=none
BROWSER_ONLY=no
BOOTPROTO=none
DNS1=8.8.8.8
DNS2=8.8.4.4
DEFROUTE=yes
IPV4_FAILURE_FATAL=no
IPV6INIT=no
IPV6_AUTOCONF=yes
IPV6_DEFROUTE=yes
IPV6_FAILURE_FATAL=no
IPV6_ADDR_GEN_MODE=stable-privacy
NAME="Default"
ONBOOT=yes
IPADDR=10.42.0.210
PREFIX=24
GATEWAY=10.42.0.1
EOF
Finally, unmount the sdcard.
umount /tmp/disk
If nothing went wrong with the steps, you can now hook up your Rpi to the network, boot it up and connect to it.
Setting up LCD framebuffer device
To setup the LCD device, you will need to install additional device tree overlays for the LCD. The LCD-show github repository from goodtft provides the necessary files, however, the script provided by the repo is designed to work only on raspbian based platforms. In Fedora ARM, we’ll have to do this manually with the following steps.
SSH into the Rpi
ssh 10.42.0.210 -l root
In /boot/config.txt, you will need to add the following lines
before [pi4] section of the config (implicit [all] section).
hdmi_force_hotplug=1
dtparam=i2c_arm=on
dtparam=spi=on
dtoverlay=tft35a:rotate=90
Download the 3.5” LCD overlay:
wget https://github.com/goodtft/LCD-show/raw/master/usr/tft35a-overlay.dtb \
   -O /boot/efi/overlays/tft35a.dtbo
Reboot the device.
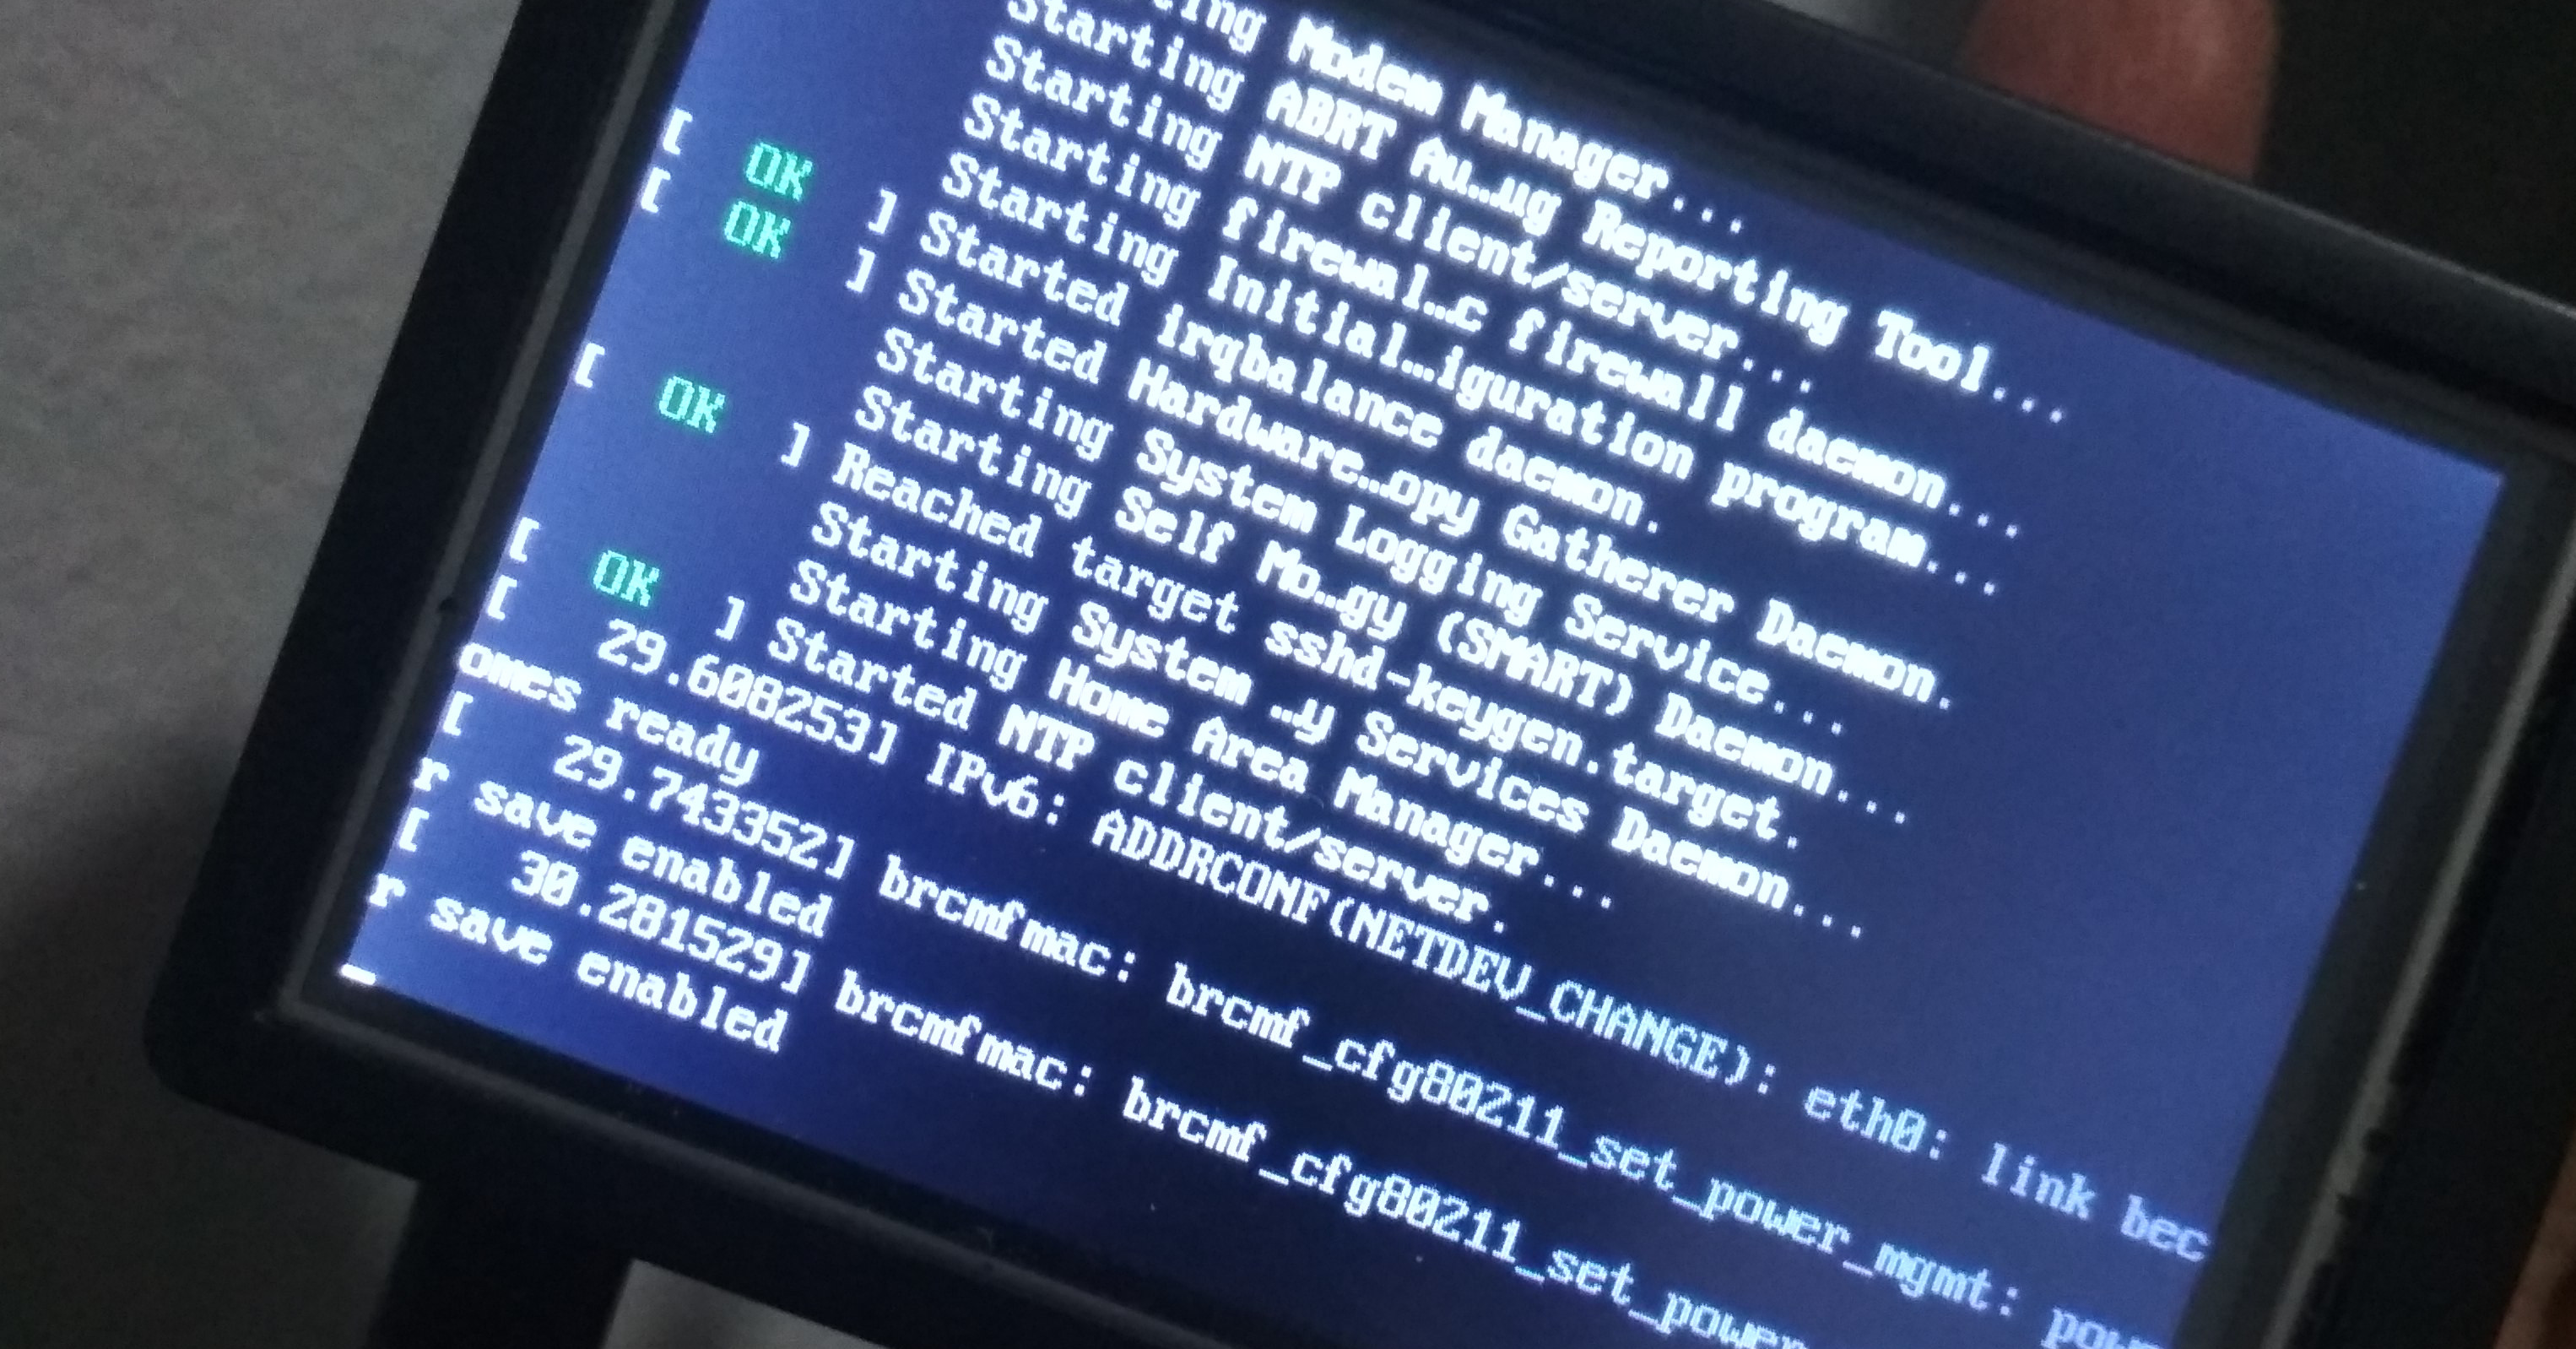
With the steps above, it should be enough to get the LCD working with a
framebuffer device at /dev/fb1. The LCD should be showing black screen after
the reboot.
You can then use this framebuffer device either to run a console, or to use with your PyGame application, or to run X server.
To test the framebuffer device, you can run the following command, and the screen should be showing random black and white dots.
cat /dev/urandom > /dev/fb1
You can also, configure the LCD device as the default kernel console output
adding fbcon=map:10 fbcon=font:ProFont6x11 to the kernel boot option in
/boot/efi/cmdline.txt, and reboot the device.
I have yet to try getting X GUI running on this, but I will definitely share once I got time to try and figure it out.
Hope this guide would be helpful to those who own such LCD and do share if you found this guide useful.
 Is CentOS Dead? The reports of its demise are greatly exaggerated.